Why Hand Pollinate?
In competitive giant pumpkin growing, hand pollination isn't optional — it's essential. Here's why:
- Genetic control: You decide exactly which male flower pollinates which female. If you're growing from a prize-winning seed, you want to protect that genetic investment
- Timing precision: You pollinate at the optimal moment, not whenever a bee happens to arrive
- Higher fruit set rate: Hand pollination ensures heavy, even pollen coverage across the entire stigma, leading to more complete seed development and a rounder, more uniform pumpkin
- Record keeping: Knowing the exact parentage of your seeds makes them more valuable for trading and selling in the giant pumpkin community
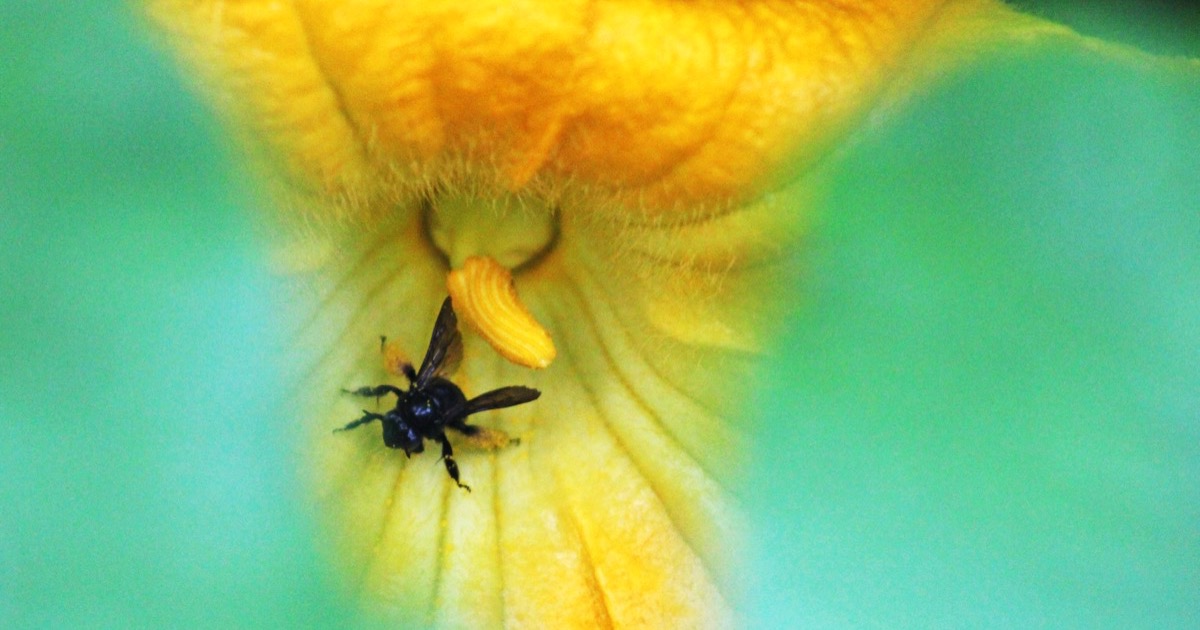
Male vs. Female Flowers
Before you can pollinate, you need to reliably identify flower types. Pumpkin plants produce separate male and female flowers on the same vine.
Male flowers:
- Appear first, usually 1–2 weeks before females
- Grow on a thin, straight stem (no bulge below the flower)
- Inside, you'll find a single central stamen covered in sticky yellow pollen
- They are abundant — a healthy plant may produce 10+ male flowers for every female
Female flowers:
- Have a small, round bulge (the ovary) at the base of the flower — this is the baby pumpkin
- Inside, the center has a multi-lobed stigma (it looks like a small star or crown) that receives pollen
- They are less common and more precious — each one is a potential fruit
Timing Your Pollination
Timing is everything. Pumpkin flowers open at dawn and begin closing by late morning.
6:00–9:00 AM
Your pollination window — flowers open at dawn and close by late morning
This timing assumes temperate zones (4–7). In warmer climates, flowers may open earlier and close sooner. Adjust your schedule based on what you observe in your own patch.
- The evening before, identify female flowers that will open the next morning — they'll be swollen and showing a crack of orange at the tip
- Place a small piece of tape or clip on the female flower to prevent early bee visits before you get there
- Also identify 2–3 male flowers that will open the same morning — you want plenty of pollen (some growers use up to 5 for maximum coverage)
- Protect male flowers too: Tape or bag your selected male flowers the evening before to prevent bees from visiting them overnight. This ensures your pollen source is uncontaminated, which matters for seed purity and genetic records
If possible, pollinate female flowers that set between 10 and 15 feet from the main root on the main vine. Fruit in this zone has the best stem angle and receives maximum nutrients from the root system in both directions along the vine.
The Pollination Technique
There are two common methods. Both work well — use whichever feels most comfortable.
Method 1: Stamen as Paintbrush
Expose the stamen
Transfer the pollen
Repeat for coverage
Method 2: Cotton Swab Transfer
Collect pollen
Apply to stigma
When to use this method
You want every lobe of the stigma covered with visible yellow pollen. Good pollination leads to more even seed development inside the fruit, which in turn produces a rounder, more symmetrical pumpkin.
Confirming Success
Check your pollinated fruit 2–3 days after pollination. Signs of success: the ovary (baby pumpkin) is visibly swelling and the stem is thickening. Signs of failure: the ovary is yellowing, softening, or not growing. A failed pollination will typically abort within 5–7 days. If your first attempt fails, pollinate the next available female — don't waste time on a fruit that isn't developing.
Post-Pollination Protection
After pollination, you need to protect the female flower from unwanted bee visits that could introduce stray pollen and contaminate your cross.
- Close the flower: Gently fold the petals shut and secure with a twist tie, tape, or small clip
- Cover if needed: A small mesh bag or cheesecloth over the flower provides extra insurance
- Leave protection on for 24–48 hours — by then the flower will have wilted naturally and is no longer receptive
- Label the pollination: Tie a tag near the fruit noting the date, the seed number of the mother plant, and the pollen source
Choosing Which Fruit to Keep
After successful pollination, you may have 2–4 developing fruits on the vine. For maximum size, you'll eventually select just one — but don't rush the decision.
- Let all pollinated fruits grow for 7–10 days before choosing
- Measure daily — the fruit gaining circumference fastest is usually your keeper
- Consider stem angle and position on the vine, not just growth rate
- Remove the unchosen fruits cleanly with a sharp knife — don't rip them off
Once you've selected your fruit, pay attention to how it sits relative to the vine. The stem should be roughly perpendicular to the vine to avoid stress cracking as the pumpkin grows. If the fruit is at an awkward angle, you can gently reposition it over several days while it's still small (under 50 pounds) — never force it. Some growers use a sand bed under the fruit to allow it to settle naturally as it expands.
Cross-Pollination for Genetics
If you're interested in producing seeds for future seasons (or for trading), controlled crosses between two high-performing plants yield the most exciting results.
- Use pollen from a different plant's male flower — cross-pollinated seeds tend to be more vigorous than self-pollinated ones
- Self-pollination (using a male flower from the same plant) is also a deliberate strategy — it locks in genetics from a proven performer. Many competitive growers self-pollinate their best plant to produce consistent seed for future seasons
- Record the parentage carefully: note the seed number of both the mother (female flower) and the father (pollen source)
- In the giant pumpkin community, seed lineage is tracked through the GPC (Great Pumpkin Commonwealth) database and seeds are often named by the weight of the parent fruit (e.g., "1526 McMullen")
Good genetics, combined with proper pollination technique, give you the best possible starting point for a record-breaking pumpkin.
After pollination, protect your investment by maintaining a strong pest scouting program and keeping powdery mildew under control — a healthy canopy is what drives the rapid growth your newly pollinated pumpkin needs.