When to Start
Start your Atlantic Giant seeds indoors 3–4 weeks before your last expected frost date. In most northern growing zones (zones 4–7), that means starting around mid to late April. Starting too early gives you a leggy, root-bound plant that struggles at transplant; starting too late costs you precious growing days during the warm season.
Check your USDA hardiness zone and look up historical last-frost dates for your area. The goal is to transplant a vigorous seedling into warm soil (at least 60°F) with nighttime air temperatures consistently above 50°F.
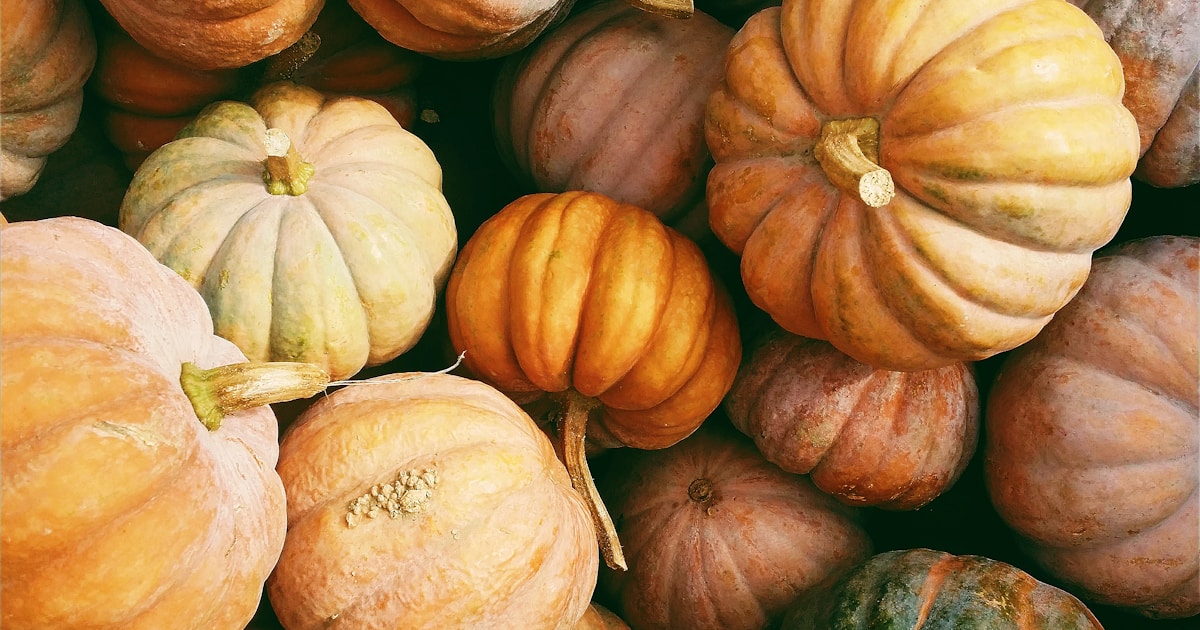
Seed genetics matter. Competitive seeds from proven lineages (available through BigPumpkins.com auctions, local GPC clubs, or Howard Dill Enterprises) give you a meaningful head start. A seed from a 1,500+ pound pumpkin carries genetics that support extreme growth — but only if the seed is started properly.
Seed Preparation
Atlantic Giant seeds have a thick, hard seed coat that benefits from preparation before planting. Two simple steps dramatically improve germination rates:
- Filing: Use a nail file or fine sandpaper to gently file the edges (not the flat faces) of the seed. This thins the seed coat enough to let moisture penetrate without damaging the embryo inside. Focus on the ridge where the seed halves meet, especially around the pointed end where the root emerges.
- Soaking: After filing, place the seed in a cup of warm (not hot) water for 2–4 hours. Some growers add a tiny amount of seaweed extract to the soak water to provide trace minerals. Do not soak longer than 6 hours — extended soaking can drown the seed.
- Fungicide treatment (optional): Some competitive growers dust seeds with a captan-based fungicide before planting, or soak briefly in a dilute hydrogen peroxide solution (1 tablespoon 3% H2O2 per cup of water). This reduces the risk of damping-off and soil-borne fungal infections during the vulnerable germination period.
Planting Technique
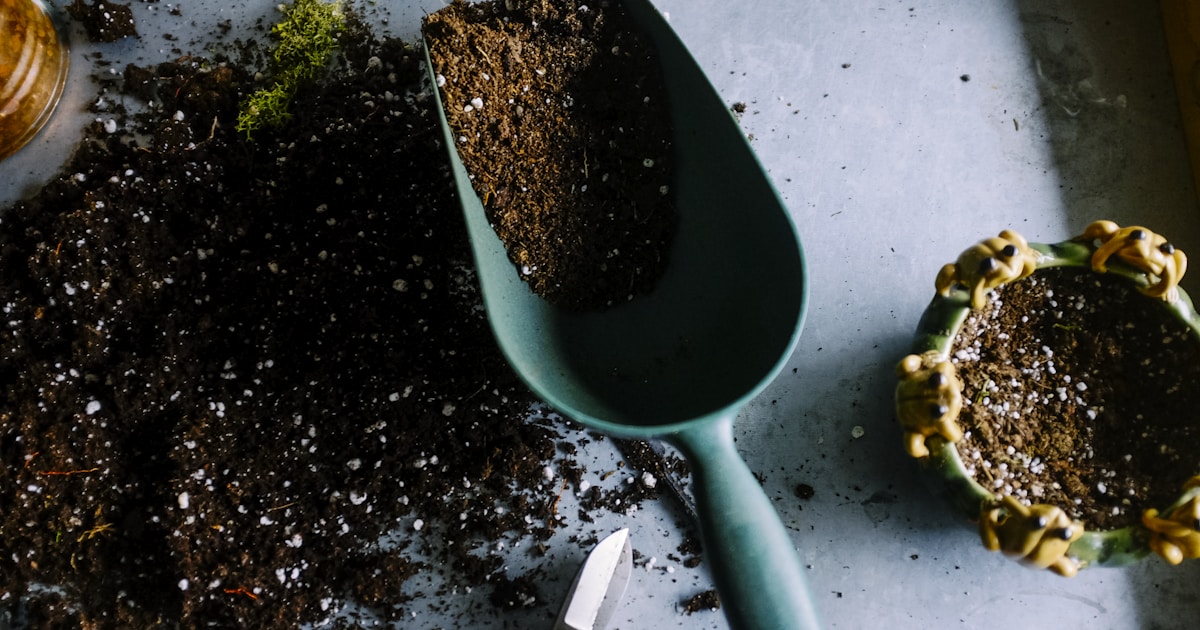
Use a 4–6 inch peat pot or biodegradable container — this minimizes root disturbance at transplant. Fill with a quality seed-starting mix that's light and well-draining.
Moisten the soil
Make the hole
Place the seed
Cover and water
Don't pack
Temperature Control
Soil temperature is the single most important factor for fast, reliable germination. Use a seedling heat mat to maintain soil temperature at 85–90°F (29–32°C) until the seedling breaks the surface.
85°F
Target soil temperature for germination (use a heat mat)
After emergence:
- Drop soil temperature to 70–75°F during the day
- Allow nighttime temps to fall to 60–65°F — this slight drop encourages stocky, sturdy stems rather than leggy growth
- If you don't have a heat mat, place pots on top of a refrigerator or water heater — anywhere with gentle bottom heat
5–10 days
Typical germination time — if nothing emerges after 14 days, the seed likely didn't take
Light & Preventing Leggy Seedlings
Once the seedling emerges, light becomes critical. A spindly, stretched-out seedling will never be as strong as a stocky one.
- Provide 14–16 hours of light per day using a south-facing window or, ideally, a grow light positioned 4–6 inches above the seedling
- If using a window, rotate the pot daily to prevent the seedling from leaning toward the light
- A small fan on low, blowing gently across the seedling for a few hours each day, strengthens the stem
Hardening Off
About 5–7 days before your planned transplant date, begin hardening off your seedling. This gradual transition prevents transplant shock.
Days 1–2: Shade
Days 3–4: Partial sun
Days 5–7: Full sun
Watch nighttime temps
Watch for wilting during hardening off — it's normal for the plant to look droopy the first day or two, but it should recover by evening. If it doesn't bounce back, scale back the exposure.
The Transplant Window
Your seedling is ready for the garden when it has 2–3 true leaves (not just the initial cotyledons) and looks stocky and healthy. This is typically 10–14 days after sprouting under ideal conditions — faster with strong light and warm temperatures, slower if conditions are less than perfect.
Transplant on a calm, overcast day if possible — less sun stress on the roots. Late afternoon also works well, giving the plant a cool night to settle in.
- Water the seedling thoroughly 1–2 hours before transplanting
- Dig a hole larger than the peat pot
- If using a peat pot, tear away the bottom and sides to free the roots
- Set the seedling slightly deeper than it sat in the pot
- Water in well and consider a temporary shade cloth for the first 2–3 days
Many competitive growers protect fresh transplants with a bottomless milk jug or cold frame for the first week. This creates a warm microclimate and shields the delicate seedling from wind.
Once your seedling is in the ground, the next priorities are soil preparation and feeding, protecting against cucumber beetles (which can transmit fatal bacterial wilt to young transplants), and building a regular scouting routine.